



Reliable setup starts with controlled hinge geometry, square corners, and compatible bonding surfaces. Here is what to specify, measure, and challenge before approving production.
Assembly exposes shortcuts.
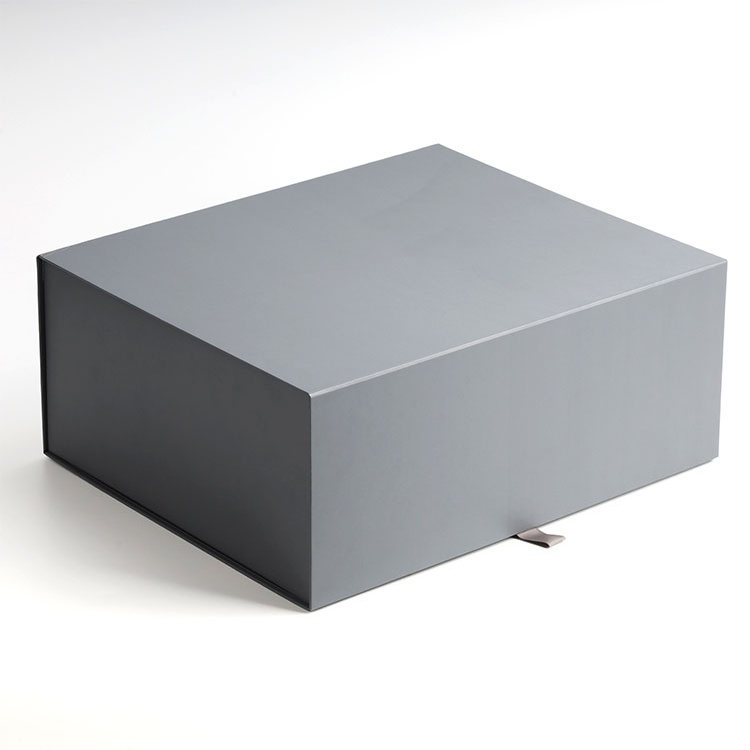
When a foldable rigid box looks immaculate in a supplier’s photograph but needs repeated squeezing, corner adjustment, or an extra pair of hands to stand square, I would investigate the structural specification before approving the next production run.
What, exactly, did the sample approval prove?
A reliable foldable rigid box assembles in a defined sequence, holds its intended shape, and accepts the product without forcing the walls apart. Achieving that requires coordinated hinge clearances, panel dimensions, corner retention, wrap construction, and operator instructions.
The photograph tells us very little about those things.
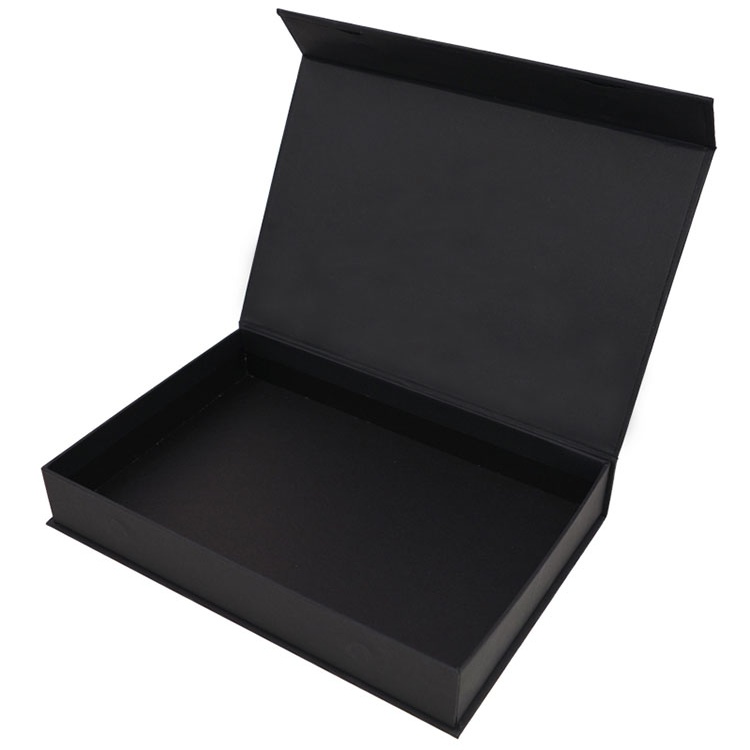
A foldable rigid box typically uses rigid board panels connected through flexible folding areas. Within this format, collapsible rigid boxes can use different corner systems, including adhesive tabs and releasable structural features. Those differences change how the box should be assembled and tested.
The most useful foldable rigid box design guidelines begin with a basic demand: the drawing must explain how the finished materials move.
A collapsible rigid box dieline should identify:
For a new structure, bring these decisions into the packaging structural design and engineering review before approving artwork. Moving a hinge after the graphics are finished can affect panel registration, foil placement, and visible edges.
Rigid box hinge design must accommodate the entire finished construction: core board, wrap, liner, adhesive, and any surface film.
Increasing board thickness changes that geometry. A move from an illustrative 1.5 mm core to a 2.0 mm core should trigger another clearance review. Retaining the previous panel layout without checking the folding path invites interference.
There is useful research behind treating folds as engineered features. In their 2009 Eindhoven University of Technology study of paperboard creasing and folding, L. A. A. Beex and R. H. J. Peerlings combined experiments and modelling to investigate fold damage; their model explained how an insufficiently deep crease could lead to outer-layer failure.
That study examined creased paperboard. Wrapped rigid-board hinges have a different construction, so its findings cannot supply a universal hinge-gap dimension. My takeaway is practical: validate the chosen folding mechanism with the actual material stack.
Record wrap grain direction. Check both folding orientations. Inspect for whitening, cracking, liner lifting, and resistance that pulls an adjacent panel out of position.
A nominal gap can disappear when paper returns overlap or panels shift within their permitted placement tolerances.
Consider a simplified tolerance calculation:
0.30 mm nominal clearance − 0.20 mm intrusion from each opposing side = −0.10 mm clearance.
Under those assumptions, the assembly has interference. Asking the operator to press harder merely transfers the problem to the packing station.
I would require separate measurements for bare-core caliper, finished panel thickness, and usable internal space. This guide to specifying rigid box board thickness provides a useful starting point for that discussion.

A box can look square from above while one wall leans outward or a corner tab bonds under tension.
For rigid box corner alignment, measure internal length and width at defined locations, compare the opening’s diagonals, and inspect wall position after assembly pressure is released. Equal diagonals alone do not establish that every wall is vertical or every joint is secure.
Agree on acceptance limits before production.
| Setup symptom | Possible causes to investigate | Drawing or sample check |
|---|---|---|
| One corner stays open | Panel placement error, obstructed hinge, overlapping wrap bulk | Check panel positions and the finished corner cross-section |
| Adhesive tab lifts | Surface incompatibility, contamination, insufficient contact | Test the specified adhesive against the actual finished surface |
| Lid sits diagonally | Unequal wall height, corner displacement, closure-position error | Measure the assembled structure before evaluating closure alignment |
| Box springs out of shape | Hinge resistance, insufficient retention, insert interference | Inspect the empty assembly, then repeat with the insert fitted |
| Insert requires force | Insufficient allowance or variation in internal dimensions | Check usable space across multiple assembled samples |
A magnetic lid deserves its own inspection. With magnetic closure box designs, distinguish the lid-closing function from the features that retain the corners. Some constructions use magnets for both; others use adhesive corner tabs and separate lid magnets.
An audible snap proves that magnets attracted. Wall alignment still needs checking.
“Double-sided tape” is an incomplete specification.
Identify the adhesive product, bonding area, receiving surface, application conditions, required pressure, and bond-development time. A tape selected for exposed paper needs validation before being used against a laminated or coated surface.
Humidity also deserves attention. In NIST’s 2008 investigation of moisture attack in adhesive bonds, researchers observed a sharp reduction in interfacial adhesion above a critical humidity in one model system; a lower-modulus polymer behaved differently. The result demonstrates material dependence rather than a universal humidity threshold.
My inference for packaging is straightforward: test the specified adhesive and finished wrap under conditions relevant to storage and assembly. That research supplies no failure percentage for your box.
For a common construction with peel-and-stick corner tabs, use the following sequence as a development checklist. The approved instructions must match the actual box design.
Include close photographs of the corner sequence in the work instruction. A distant photograph of a completed box leaves too much interpretation.
And time the entire operation. Removing release liners, correcting corners, fitting inserts, and handling rejects all consume labor.

I consider a sample assembled only by its designer a weak approval test. The design also needs to work in the hands of the people who will pack the order.
A January 2023 paper by researchers from RISE and KTH reported mean first-peak compression loads of 200 N and 225 N for packages made from two paperboards, tested at 23°C and 50% relative humidity. In a separate simulation, increasing outer-ply strength by 10% raised maximum force by 6.2%, while increasing outer-ply stiffness by the same percentage produced no significant increase in maximum force.
These were paperboard packages, so those loads cannot serve as acceptance targets for a wrapped greyboard box. The purchasing implication is narrower: a material description or stiffness measurement cannot establish finished-package performance by itself.
Use packaging samples and prototyping to evaluate the complete construction. An unprinted structural mock-up can establish basic geometry; assembly approval should also cover production-representative wraps, finishes, adhesives, and inserts.
For an initial development screen, consider three operators assembling ten boxes each from several packed cartons. This is a practical comparison exercise, not a statistically validated lot-release plan.
Record first-pass success, assembly time, rework, corner alignment, and bond condition after an agreed waiting period. Keep the failures available for inspection.
Here is an illustrative costing example:
A US$0.05-per-box purchase discount saves US$500. Under these assumptions, the extra assembly labor exceeds that saving by US$300, before rework.
For flat pack rigid boxes, compare purchase price, actual packed freight volume, assembly labor, and rejects together. Freight savings need to survive the packing-line calculation.
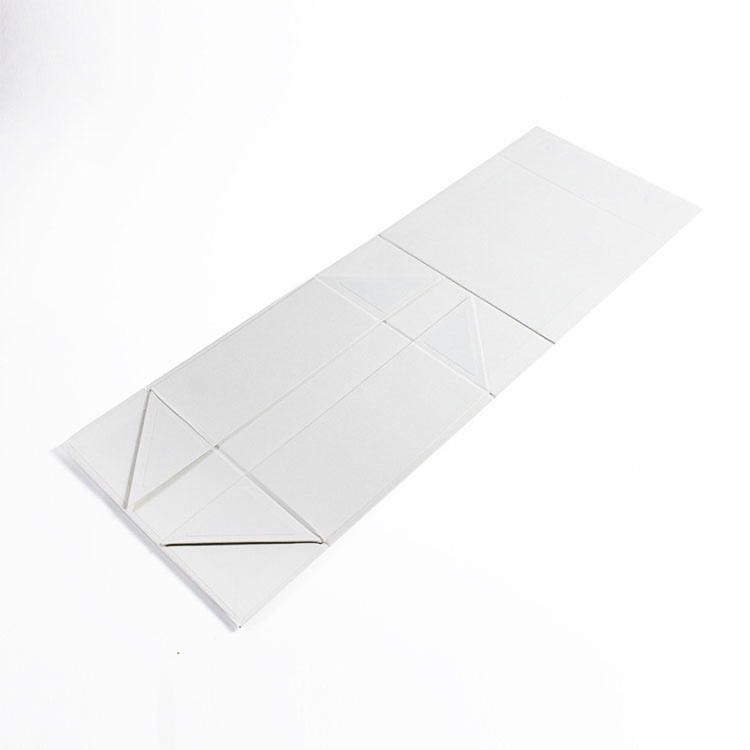
A foldable rigid box is a presentation package made from rigid board panels joined by engineered folding areas, allowing it to ship flat and form a stable box during packing through corner adhesives, mechanical locks, or other retention features specified for that particular construction.
Foldable rigid box assembly is the process of orienting the flat blank, raising its panels in the approved sequence, aligning and securing the corners, applying any specified bonding pressure, and fitting the insert after the structure has developed enough stability for product loading.
Foldable rigid box hinge clearance is the designed space between adjoining rigid panels that permits the finished wrap and liner to bend without binding, and its required size depends on board caliper, covering materials, fold angle, assembly sequence, and the supplier’s achievable manufacturing tolerances.
Spring-back is the tendency of a folded panel or lid to move toward its previous position after pressure is released, and in a foldable rigid box it can indicate excessive hinge resistance, restricted folding clearance, inadequate corner retention, or interference from the fitted insert.
Send your product dimensions and weight, order quantity, insert requirements, preferred finish, and assembly location to XD Packaging for a foldable rigid box prototype review.
Request a revised dieline, a production-representative sample, and documented setup instructions. Agree on corner alignment, bonding conditions, and assembly-time targets before authorizing the production run.