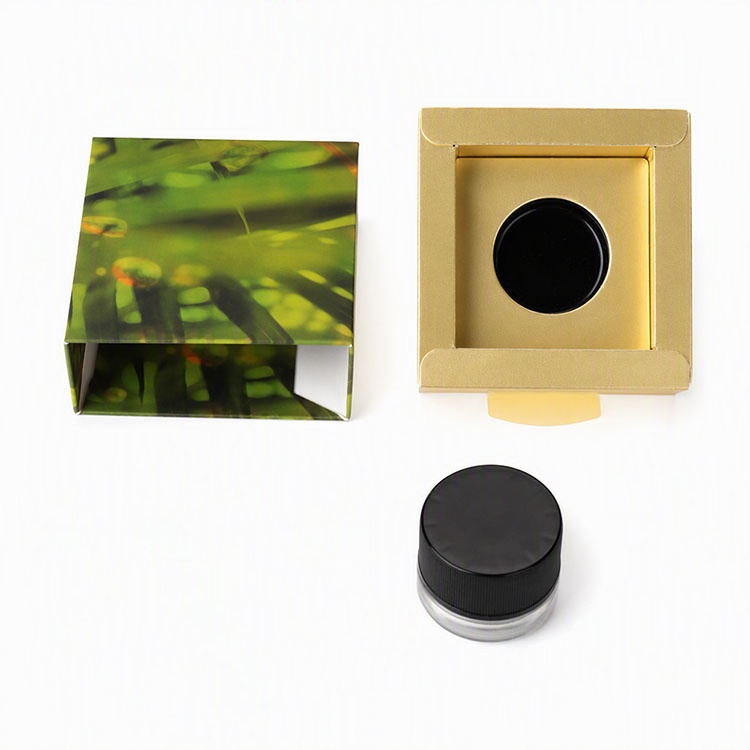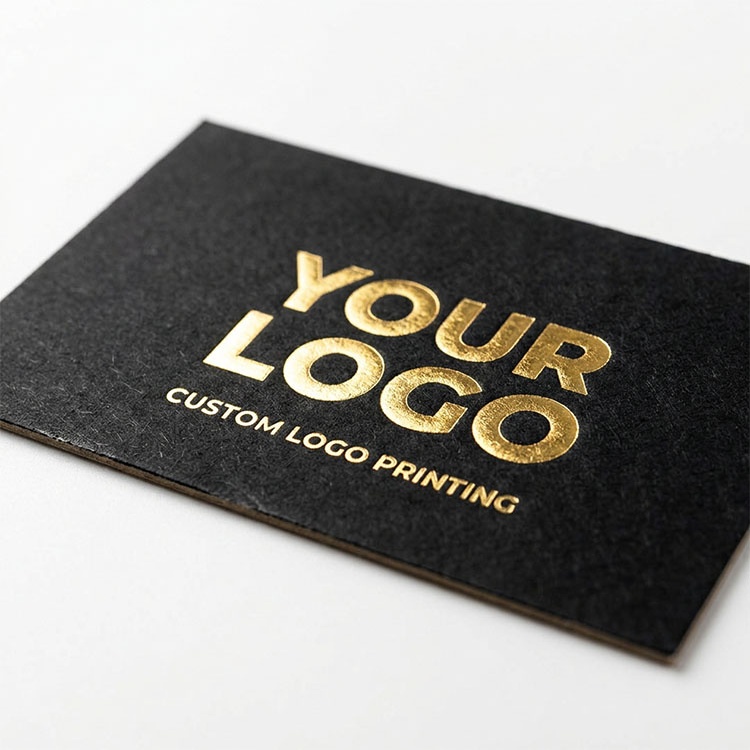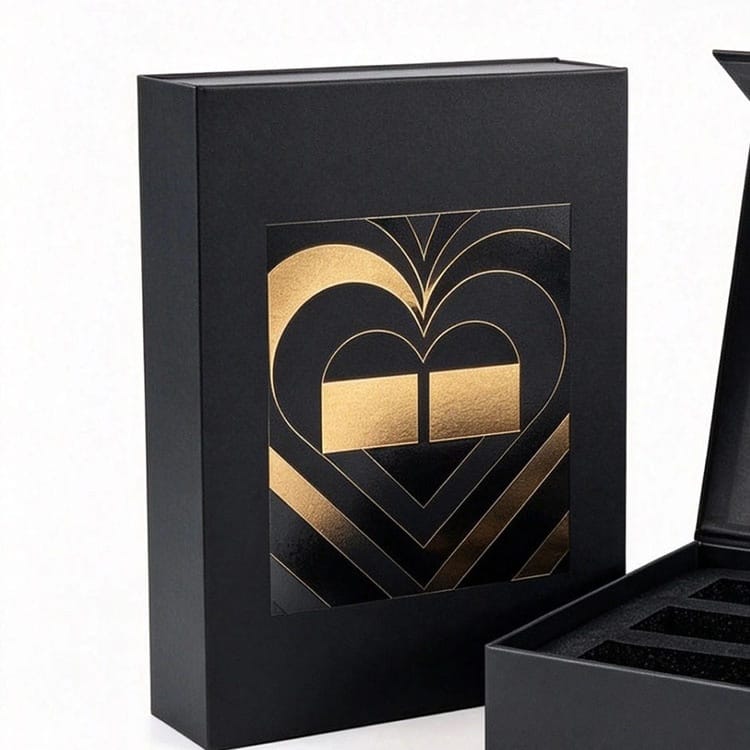




Sharp debossing starts with the relationship between paper texture, artwork, tooling, and press conditions. Here is how to protect fine lines, keep lettering readable, and approve a finish that survives packaging assembly.
Depth proves nothing.
When a narrow logo stroke crosses the raised grain of textured paper, extra force can flatten the surrounding surface before it creates a clean recess, leaving you with a stronger impression and a weaker brand mark.
Why approve a deeper logo if it is harder to read?
My approach to debossing on textured paper starts with the smallest detail that must survive: choose a compatible stock, protect the spaces inside the artwork, specify suitable tooling, and establish pressure through controlled trials. Then inspect the assembled packaging.
That last step matters. A convincing impression on a loose sheet is only part of the job.
Debossing presses a design below the paper surface. With blind debossing, there is no added ink or foil to supply contrast, so readability depends heavily on the recessed edges, the surrounding texture, and the light.
A pronounced grain can compete with a delicate letterform. The tool may reproduce the artwork, yet the paper’s peaks and valleys make the impression look interrupted.
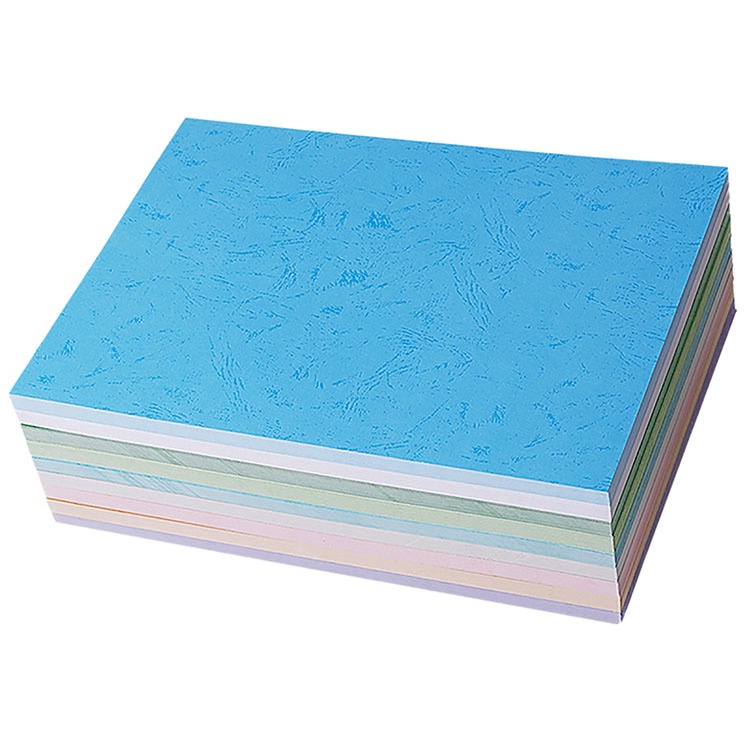
I would start a material brief with the paper’s manufacturer, grade, color, grammage in g/m², caliper in µm, grain direction, and texture. “Premium textured paper” tells a buyer almost nothing about whether a small serif will survive.
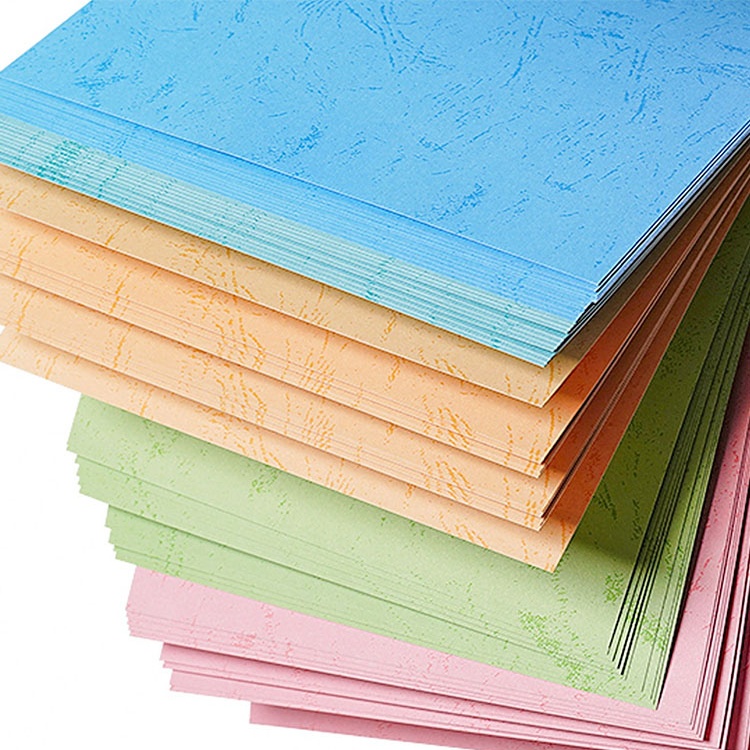
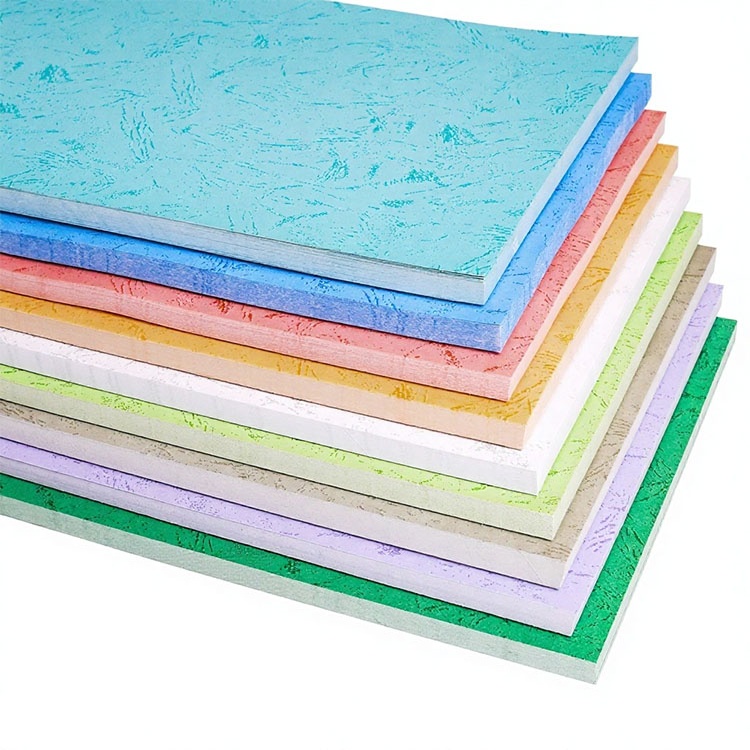
When comparing textured paper for custom packaging, match the texture scale to the artwork rather than choosing the sheet by touch alone.
| Paper or construction | Detail risk to investigate | What I would trial first |
|---|---|---|
| Soft cotton paper with a subtle texture | Heavy impressions may distort the sheet | Moderate depth with clearly separated strokes |
| Pronounced linen or laid finish | Surface ridges can interrupt narrow lines | Wider strokes, larger lettering, and alternative artwork orientation |
| Rough felt or hammered finish | Background relief can overwhelm small details | A simpler mark with generous internal spaces |
| Thin textured wrap over rigid board | Backing and assembly can change the visible impression | The proposed finishing sequence followed by complete box assembly |
Keep a smooth uncoated paper option in the comparison. It gives the team a useful reference: if the same artwork becomes readable on the smoother sheet, texture deserves attention before anyone increases the load.
The best paper for debossing is the one that supports the actual design and construction. Cotton content alone cannot settle that decision.
Fine detail debossing is partly a negative-space problem.
The opening inside an “e,” the gap between two stems, and the space beneath a serif need to remain visible after the paper deforms. A logo can retain its outline while losing the features that make it recognizable.
I would prepare a separate finishing file with:
A packaging artwork design review should resolve these details before tooling is ordered.
NEENAH’s 2022 production guidance for its 100% cotton papers recommends a minimum 0.25 pt line width, 6 pt type, and 12 pt reversed type for letterpress artwork. Those figures belong to that manufacturer’s letterpress guidance; a textured-paper debossing specification needs its own validated limits.
My view: copying a minimum from a different process into a purchase specification creates false precision.
For a practical test coupon, I would propose 0.20, 0.30, and 0.40 mm strokes, alongside 0.30, 0.40, and 0.50 mm gaps. These are trial dimensions to expose failure points, not guaranteed production minimums.
Include the real logo as well. Straight test lines cannot tell you everything about a complicated monogram.
For the debossing dies, ask the toolmaker to specify the material, relief depth, edge geometry, and proposed backing or counter arrangement. “High precision metal die” is a sales description. We need dimensions and a convincing proof.
A machine setting is useful only when its meaning is recorded.
A hydraulic gauge reading does not directly describe the local stress at a tiny serif. Die contact area, backing, paper construction, dwell time, and equipment all affect the result.
Research illustrates why those variables deserve control. In their 2020 TU Dresden study published in BioResources at North Carolina State University, André Hofmann and Marek Hauptmann tested Stora Enso Trayforma Natura board at 350 g/m² and 450 ± 2 µm thickness. They conditioned it for at least 24 hours and conducted experiments at 23 ± 1°C and 50 ± 2% relative humidity; the experiment investigated ultrasonic-assisted compression, so its operating results require that context.
My takeaway is experimental discipline: identify the material and stabilize the conditions before interpreting a pressure trial.
I recommend this sequence:
Record the equipment, setting, unit, dwell time, temperature where applicable, and sample identifier.
Then stop at the setting that meets the agreed appearance.
If increasing the load produces a crushed patch around the logo while the smallest letters remain muddy, the next trial should address artwork, stock, tooling, or support. Pressure has already shown its limits.
Paper changes after the tool releases it.
A 2022 Leipzig University of Applied Sciences study of cardboard compression and recovery reported residual compression at approximately 50% of the under-load value in its recovery analysis. The researchers also distinguished simple compression testing from deformation inside an embossing tool, reinforcing that the released shape needs to be measured rather than assumed.
That finding gives us a reason to examine the finished impression after unloading. The exact recovery will depend on the material and process.
For a packaging sample brief, I would request photographs immediately after finishing and again 24 hours later, using consistent lighting. That follow-up interval is a proposed project check to agree with the supplier.
Inspect the result under both diffuse light and light directed across the surface. Angled light reveals the recess; diffuse light helps show whether the mark remains readable in ordinary viewing.
For a wrapped rigid box, I would trial debossing the wrap while flat, then build the complete package. Review whether adhesive application, wrapping, handling, or subsequent pressing changes the result.
A thick cotton card cannot establish how a thin wrap will behave over greyboard.
Использование образцы и прототипы индивидуальной упаковки to approve the actual construction, and agree acceptance criteria before bulk production:
Keep the signed sample with the material specification and finishing file. I would also retain examples of unacceptable impressions, because a visible boundary is easier to discuss than “slightly sharper.”
Maintaining detail when debossing textured paper is a process of matching surface texture, compressibility, artwork spacing, die geometry, and press load so the finished recess remains readable after unloading and assembly, with approval based on actual production stock rather than a digital rendering or an unrelated paper sample.
The best paper for debossing is a stock whose surface texture, thickness, and compressibility suit the smallest feature in the design, with softly textured cotton and suitable uncoated grades serving as useful trial candidates when fine recessed lines matter more than a pronounced background texture.
Debossing pressure settings are the machine adjustments used to apply enough force for a readable recessed image while controlling paper damage, and they must be established through trials that account for die contact area, paper construction, backing, dwell time, and the condition of the finished sample.
Blind debossing is an inkless, foil-free recessed impression that can reproduce fine text on textured paper when the letter strokes, internal openings, and surrounding spaces remain distinct against the grain, with the practical limit determined by a proof using the intended stock, tooling, and production sequence.
Send XD Packaging your vector logo, final logo dimensions, preferred paper references, box structure, order quantity, and delivery requirements through the Форма запроса на изготовление индивидуальной упаковки.
Ask for a comparison that includes the smallest required lettering, alternative stroke widths, and the proposed textured stock. Then request an assembled approval sample using the agreed finishing sequence.
Approve the version that keeps your detail readable, preserves the surrounding texture, and holds its appearance after assembly. Put that sample—and its specification—into the production agreement.