



A flat proof can look right while the finished box has a crooked border or a different-looking blue. Here’s what to check before you release the run.
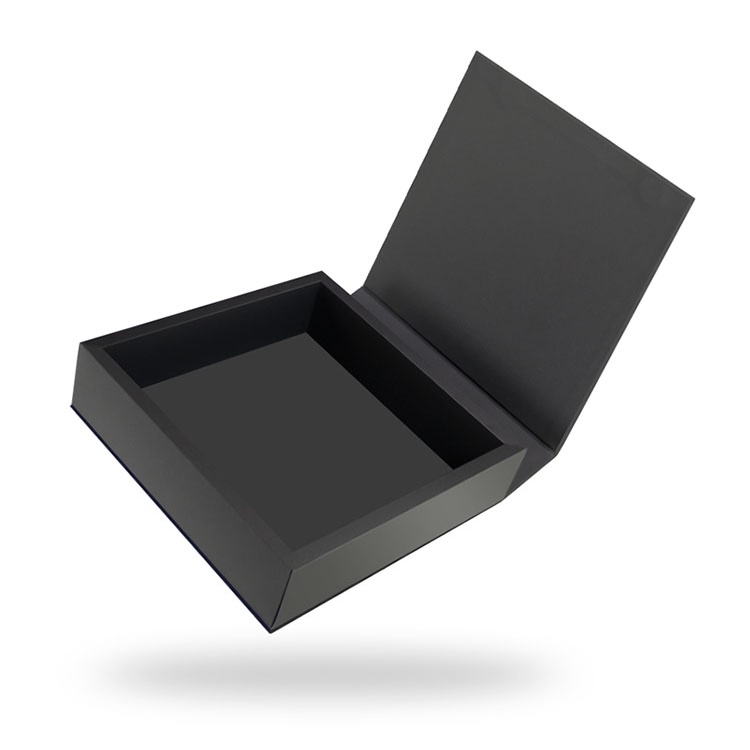
The wrap matters. On an offset-printed rigid box, a logo that sits squarely in the flat file can appear too close to an edge once the paper turns over the board, and the blue you signed off on can shift when the laminate goes down. Would you release the run on the strength of a PDF?
For a job that uses offset printing for rigid boxes, I’d sign off on the artwork, the color target, and the finished box separately. If the approval email says only “looks good,” I’d ask the reviewer to name the proof and file revision they’re approving.
In offset lithography for rigid packaging, the plate transfers ink to a rubber blanket, which prints it onto the wrap paper. The converter trims the printed sheet and wraps it around the board. The University of Illinois guide to offset lithography explains how the ink gets from plate to sheet.
Build the artwork at 100% scale on the converter’s approved dieline. Check that it identifies the lid, base, and any printed liner, along with the folds, cut edges, and glue areas. If the structure is still being revised, start with rigid box structural design and dieline engineering.
Bleed extends the artwork past the cut line. The turn-in is the paper that folds over the board edge and is glued inside the box. Follow the dieline for where the background should continue, and keep tight borders, small type, and barcodes inside the supplier’s safe zones. Pay extra attention to dark wraps, where a miter gap can expose the board. See how rigid box corner wrapping affects edge coverage.
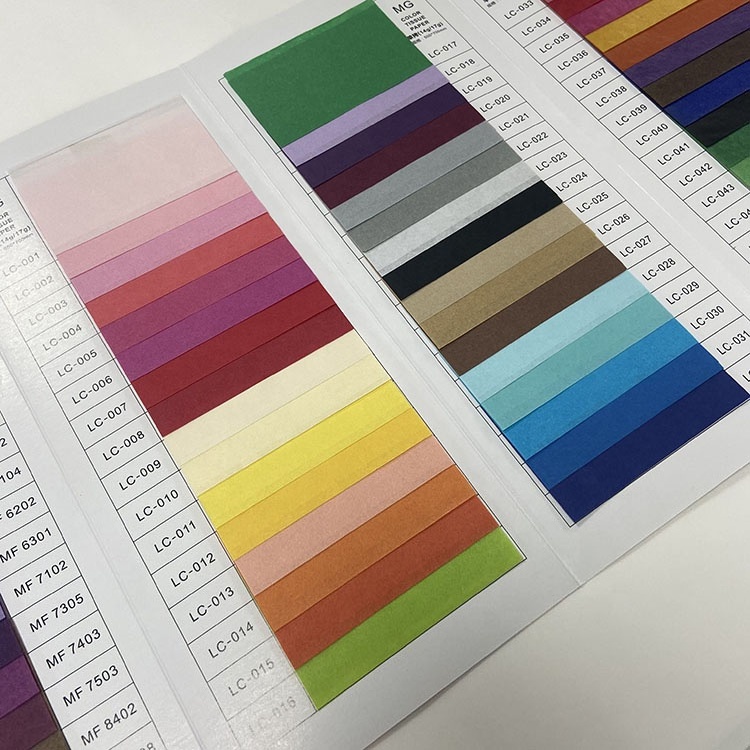
Ask prepress for the target printing condition, the ICC profile for the job, and the total ink limit before converting artwork to CMYK. Confirm which brand colors will run as dedicated Pantone inks and preserve those colors as named spot inks in the file. For a tight match, ask for an ink drawdown on the specified wrap paper. Agree on a CIEDE2000 color difference limit (ΔE00), the measurement conditions, and whether you’ll judge the match before or after lamination. See the Pantone packaging approval checklist.
Use the converter’s export preset. PDF/X-4 supports live transparency and named spot colors and requires embedded fonts and an output intent, as detailed in the PDF Association’s technical guide to PDF/X.
Open the exported PDF in Acrobat Pro’s Output Preview. Inspect the process and spot separations, simulate overprint, and check for areas above the agreed total ink limit. In preflight, check effective image resolution at final size. Confirm that the technical dieline stays off the print plates and that foil, embossing, and spot UV have clearly identified masks in the format the converter requests. For a file review, use XD Packaging’s packaging artwork and prepress service.
| Proof or sample | What to approve | What to request |
|---|---|---|
| Screen PDF | Copy, product codes, and panel placement | Revision ID matched to the press PDF, plus finishing overlays |
| ISO 12647-7 contract proof | Process color against the agreed printing condition | Hard copy and a control-strip measurement report |
| Spot-ink drawdown | Brand color on the specified wrap stock | Labeled swatch and an agreed ΔE00 color tolerance |
| Production-representative wrapped sample | Finished appearance, seam placement, and registration | The specified paper, board, print method, and finish |
For a hard-copy proof under ISO 12647-7:2016, match the simulated printing condition to the one on the job ticket. Ask for measured results from a control strip such as the Fogra MediaWedge CMYK V3, which is used in Fogra’s contract proof assessment.
Researchers tested 42, 75, and 125 µm polybutylene terephthalate films on UV offset test prints and measured a mean color shift of 3.4 ΔE00 after lamination, according to a 2019 University of Wuppertal study.
Compare the finished wrap against your approved color reference under agreed viewing conditions. Confirm the printing method, paper, and finish when ordering rigid box samples and prototypes.
A carton labeled 1 mg contained 2 mg clonazepam blister strips in one example from Endo’s November 2024 recall notice, published by the FDA.
Match the product information on the proof and wrapped sample to the approved product record. On jobs with several SKUs, I’d have a second reviewer check the product name, variant, and barcode number against the master record for each one.
Check the printed barcode on the finished pack for contrast, print quality, and quiet zones using GS1’s barcode verification guidance. Put the lid and base together and look at logo alignment, corner coverage, the seam, and whether the foil or spot UV lines up with the print.
Record the artwork and dieline revisions, proof ID, reference sample ID, and sign-off date on the job ticket. If the paper, ink, or laminate changes after approval, ask for a new representative sample before releasing bulk production.
The required bleed is the converter-specified distance that artwork extends past the wrap’s cut line, measured on the approved full-size dieline, and it can vary with the cutting and wrapping setup, so ask for the actual production template before placing edge-to-edge artwork.
PDF/X-4 is a practical press-ready format for rigid box artwork when the converter accepts it, because it carries the intended printing condition and preserves live transparency and named spot inks for prepress to inspect alongside the converter’s packaging checks for image resolution, ink coverage, and finishing masks.
ISO 12647-7 contract proofing uses a hard-copy digital proof to simulate a specified printing condition, with color measurements checked against reference values so the buyer and printer can agree on a color target for the offset run before evaluating the actual finish on a production-material sample.
Before approving a rigid box print proof, match the artwork revision, SKU, copy, and barcode to the approved job record, verify the contract proof’s printing condition and measurement results, and inspect a wrapped sample for the color, seams, corners, finish, and alignment customers will see on the box.
Request a rigid box artwork review and sample quote from XD Packaging. Include your box style, dimensions, order quantity, current artwork, and any Pantone or finish references. Ask for a reviewed wrap dieline, the press PDF preset, and a wrapped sample made with the specified paper, print method, and finish.