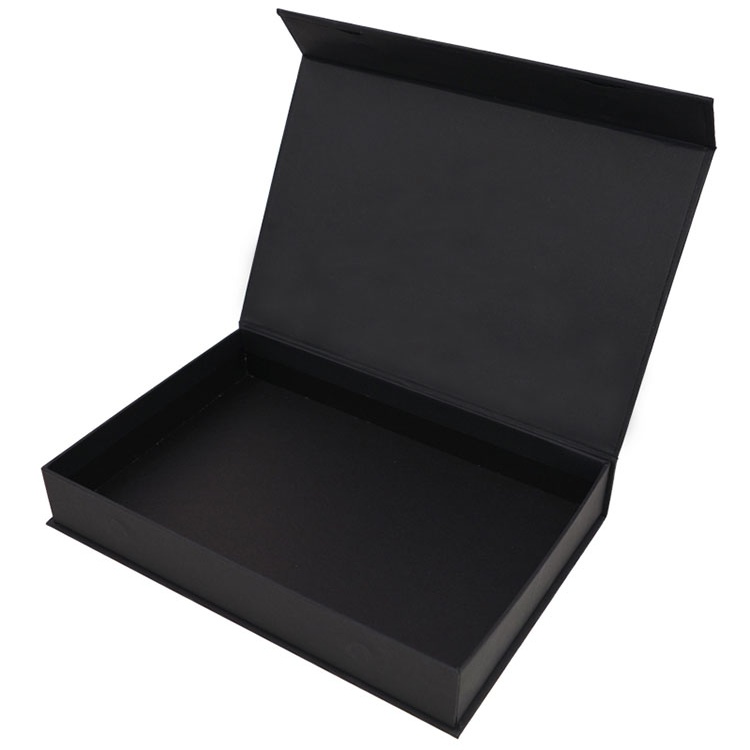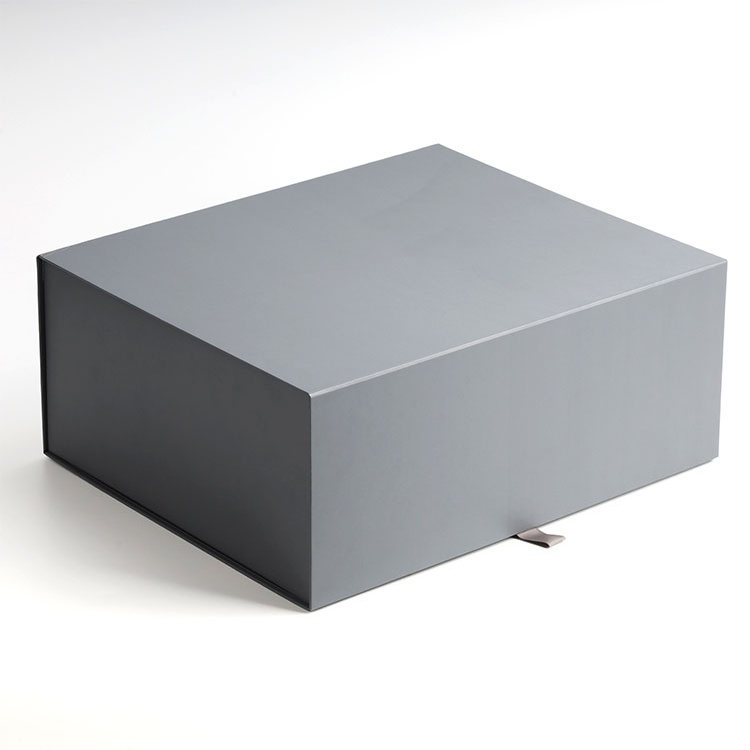




A drawer box can open smoothly during sampling and bind after production or shipping. Here is how to specify finished clearance, locate friction points, and approve a fit that survives real handling.
Measure the gap.
When a finished tray runs inside a wrapped sleeve, board variation, adhesive buildup, fold accuracy, surface friction, and humidity all interact, so a sample that opens beautifully on a dry desk can still become a production problem.
What, exactly, did that sample prove?
I distrust “premium friction” when nobody can provide dimensions or opening-force measurements. A controlled sliding action needs a written specification: finished dimensions, permitted variation, environmental conditions, and an agreed test method.
Here is where I would start.
Drawer box sleeve clearance is the dimensional difference between the sleeve’s finished internal opening and the tray’s finished external size. Preventing binding means keeping sufficient space throughout the sliding path while controlling surface friction, alignment, and deformation.
In sleeve and tray drawer box packaging, the tray carries the product and the sleeve guides its movement. Both components affect the fit.
Specify width and height independently:
Measure along the travel path. A generous opening can conceal a narrow section farther inside.
A sleeve measuring 101.2 mm internally around a 100.0 mm-wide tray has 1.2 mm total width clearance. That corresponds to 0.6 mm on each side only when the tray is centered between parallel walls.
During opening, the tray can shift against one wall. Bowing, skew, and raised seams can concentrate contact at a corner.
So “allow 0.6 mm” is an incomplete instruction. Specify the axis, whether the figure means total or per-side clearance, and whether measurements apply to fully finished components.
The nominal gap is only the starting point. For a conservative calculation, combine the smallest permitted sleeve opening with the largest permitted tray.
Minimum total clearance = minimum sleeve internal dimension − maximum tray external dimension.
The following hypothetical width calculation shows how manufacturing variation changes the fit. All dimensions are in millimeters.
| Measurement | Dimensões nominais | Tightest permitted combination | Loosest permitted combination |
|---|---|---|---|
| Finished sleeve internal width, 101.2 ± 0.3 | 101.2 | 100.9 | 101.5 |
| Finished tray external width, 100.0 ± 0.3 | 100.0 | 100.3 | 99.7 |
| Total width clearance | 1.2 | 0.6 | 1.8 |
| Equivalent per-side gap, if centered | 0.6 | 0.3 | 0.9 |
The permitted size variation has consumed 50% of the nominal clearance in the tightest combination.
Now suppose environmental conditioning causes an additional, measured 0.4 mm reduction in total gap. That combination would have only 0.2 mm remaining. Count this environmental allowance separately only when it is absent from the dimensional tolerance data.
Even a positive calculated clearance does not establish smooth movement. Local interference, surface tack, or an angled pull can still cause binding.
I would make this calculation part of the structural design and engineering brief. Agree on minimum functional clearance and maximum acceptable looseness, then validate both with physical samples.

“Make the sleeve bigger” can hide the original defect and introduce a loose fit elsewhere. Locate the interference first.
If the tray catches immediately, inspect the sleeve mouth, wrapped edges, corner folds, and glue seams.
Measure the tray’s largest finished envelope, including raised overlaps. Check the sleeve’s smallest local opening. Use light, repeatable measuring pressure so the instrument does not compress the paper and disguise the restriction.
A seam occupying one corner can matter more than the average dimension across an otherwise flat panel.
A tray that starts smoothly and jams halfway through deserves a different investigation.
Check internal dimensions at several positions along the sleeve. Compare opening diagonals, inspect panel straightness, and look for corresponding rub marks on the tray and sleeve.
Unequal diagonals can flag a squareness problem, but they do not describe every distortion. Confirm the shape along the full sliding path.
For rigid drawer box design, I want the inspection drawing to identify measurement locations. “Width passed” tells us very little without them.
Test the empty tray, the tray with its insert, and the fully packed assembly separately.
If resistance increases after loading, investigate outward wall pressure, an oversized insert, product movement, and tray-bottom deflection. An insert that fits by forcing the tray walls outward changes the mating dimensions.
Material specifications also need more detail than grammage. Grams per square meter describe mass per area; they do not establish finished thickness. Use the packaging material selection guide to frame material options, then specify actual caliper, wrap construction, and surface finish for approval.
Paper responds to moisture. The useful question is how that response affects the selected construction.
These three research cases provide measured evidence. Their results describe materials and test specimens; applying them to a particular drawer box requires validation.

Eindhoven University of Technology’s 2021 fibre study, by N. H. Vonk, M. G. D. Geers, and J. P. M. Hoefnagels, measured moisture-driven deformation in individual hardwood and softwood pulp fibres. The researchers found substantial variation in the ratio of transverse to longitudinal expansion for softwood fibres, while hardwood fibres behaved more consistently.
My takeaway is to treat grain direction and material consistency as fit variables. The study does not supply a universal millimeter allowance for finished sleeve and tray boxes.
Num 2017 packaging study published through Rochester Institute of Technology, Tobi Fadiji and colleagues tested five paper grammages, from 175 to 300 g/m². Compared with 23°C and 50% relative humidity, testing at 0°C and 90% relative humidity produced a 20–53% reduction in modulus of elasticity across the studied grammages.
Both temperature and humidity changed, so the result cannot be attributed to humidity alone. It supports checking stiffness under the intended distribution conditions—particularly where deformation could alter the sliding fit.
O USDA Forest Products Laboratory’s 1986 paperboard experiments provide another warning. Under cycling between 50% and 90% relative humidity, a softwood handsheet specimen loaded at 22% of its compression strength measured at 50% RH failed during the 27th loaded cycle. A lower-load test at 17% continued for 274 moisture cycles without failure before termination.
These were controlled sheet tests. My practical inference is that loading and changing humidity deserve consideration together when planning drawer box validation.
A dry, unloaded opening test leaves that interaction unexplored.
I would require finished packaging samples and prototypes made with the intended board, wrap, adhesive, insert, and finish before signing off the sliding action.
An unprinted structural mock-up helps establish geometry. The finished construction establishes the fit buyers will receive.
Use a written procedure that covers:
For development, I might begin with 10 loaded and 10 unloaded units drawn from different production positions, followed by 20 opening cycles per unit. Those are proposed screening conditions; production acceptance needs its own agreed sampling plan.
Record individual results. An average opening force can conceal a single drawer that jams.
Excess clearance has consequences too: rattling, uneven presentation, or a tray that moves too freely in normal handling.
For sliding box packaging, the acceptance criteria should therefore cover:
My hard line is simple: “feels good” needs a measurable companion. Keep an approved reference sample, but retain the dimensional and test records that explain its performance.

The required drawer box sleeve clearance is a project-specific gap between finished mating surfaces that must remain adequate after manufacturing variation, wrapping, product loading, and environmental exposure, with its nominal value established through tolerance calculations and testing of finished samples at the agreed temperature and relative humidity.
Total clearance is the sleeve’s internal dimension minus the tray’s external dimension on the same axis, while per-side clearance is half that difference only when the tray is centered between opposing parallel walls, which makes the distinction important when specifying width, height, and production tolerances.
Post-shipment drawer box binding is a loss of free sliding movement that can result from moisture-related dimensional change, compression damage, panel bowing, adhesive contamination, or insert pressure, and the cause is identified by comparing contact marks, finished dimensions, and opening forces before and after the relevant shipping exposure.
Preventing drawer box binding is a process of controlling finished sleeve and tray dimensions, local seam thickness, squareness, surface condition, and insert pressure, then verifying opening performance on loaded samples after agreed curing, conditioning, and handling exposures with documented limits for clearance and pull force.
Send your product dimensions, packed weight, insert requirements, preferred materials, finishes, order quantity, and shipping destination to XD Packaging for a drawer box packaging review.
Ask for a finished dimensional drawing that distinguishes total and per-side clearance, plus a loaded sample and a written opening-performance test plan. Approve those details before authorizing bulk production.